From paper to project
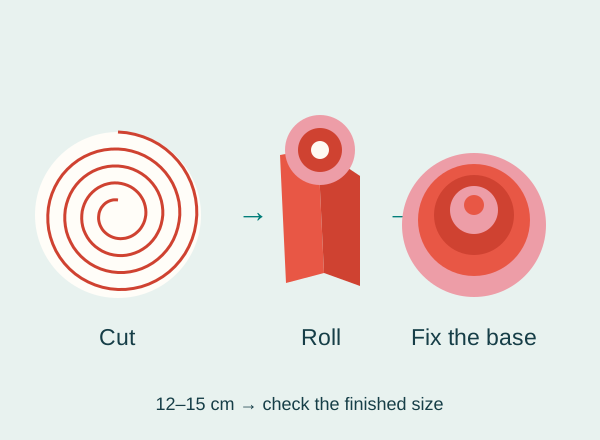
Draw and cut out a 12–15 cm circle. Draw a four- or five-turn spiral inside, leaving a strip roughly 1–1.5 cm wide and a rounded centre about 2 cm across for the base.
Cut along the spiral from its junction with the outer edge. Do not remove the centre: strip and base must remain connected.
Roll the outer end between your fingers towards the centre. Keep the lower edge aligned; even tension helps keep the flower upright.
At the base, let the roll relax slightly. Adjust its shape before adding glue: the final diameter depends on the paper and how far you let it open.
Use a little glue on the base and press the bottom of the roll onto it. Hold as directed by the adhesive instructions; a hot-glue gun is not required.
For a card, attach the flat base. For a small decorative group, make three flowers, check that the support does not topple and try one flower first. Keep small pieces away from young children.
Check it with an example
Example: cut three circles measuring 12, 13.5 and 15 cm to make flowers with different visual sizes. The finished flower does not retain the circle’s diameter: measure the actual piece before fitting it into an envelope or onto a card. A very tall rose may need a looser roll rather than more glue.
If it does not turn out as expected
If the spiral tears, make the strip slightly wider and smooth the changes of cutting direction. If the rose opens underneath, glue the roll’s lower edge to the base and wait for the adhesive’s stated setting time. This is a paper decoration, not a waterproof object.
Where this idea comes from
This project revisits a Dulzura de Papel topic with instructions and original graphics developed for this version. Ramos de flores de papel - Blog Dulzura de papel · 12 August 2013.