From paper to project
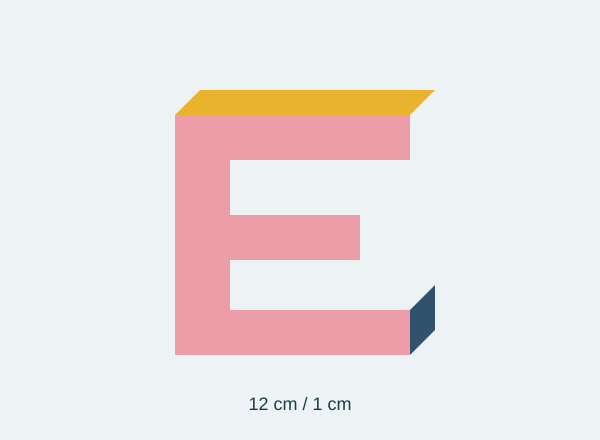
Draw a letter 12 cm high with strokes at least 2 cm wide.
Cut an identical second shape using the first as a pattern.
Mark each strip at 1, 2, 3 and 4 cm and fold it into a small square prism.
Glue the final centimetre over the first to close each spacer.
Place three or four spacers behind the front letter.
Glue the back shape to the spacers and dry flat under light pressure.
Check it with an example
An E can use four spacers: top, bottom and the two ends of its middle stroke. A 1 cm separation gives relief without side walls.
If it does not turn out as expected
The sides remain open. A closed hollow letter requires a net designed for that individual shape; a generic strip cannot simply stretch around curves.
Where this idea comes from
This project revisits a Dulzura de Papel topic with instructions and original graphics developed for this version. Letras de Papel 3D.