From paper to project
Choose A4 or Letter and load the matching paper. Print a test at 100 % and measure the 20 mm square.
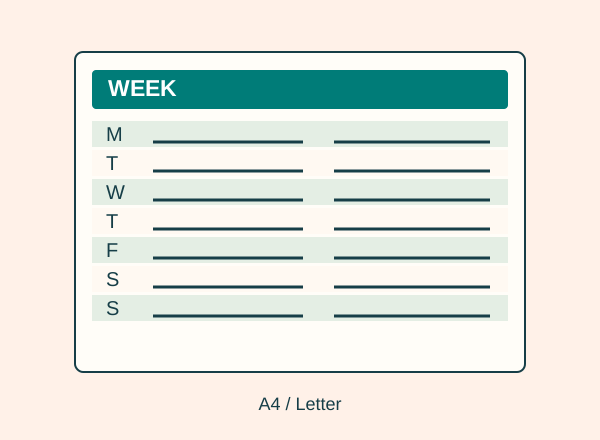
Write the Monday date. Add timed appointments to the commitments column; include travel time.
Choose no more than three priorities for the week. Break them into concrete actions you can finish.
Place those actions in the flexible column. Leave at least one space free for rescheduling rather than inventing time already occupied by appointments.
At the end of each day, mark completed work. Move a task only after checking the next day’s available space.
Before the following week, note what remained unfinished and why. Keep only the details you need: you complete the PDF by hand and your diary is not sent to the site.
Check it with an example
Example: Monday has an appointment at 10:00 with 30 minutes of travel each way. Reserve the whole block before adding “draft two invitations”. If Tuesday already has two long commitments, move a flexible task into Thursday’s free space. An empty box is a buffer rather than an unfinished obligation.
If it does not turn out as expected
If everything does not fit, reduce the priorities or split the task; smaller writing does not create more time. If printing clips an edge, check the file’s paper size and your printer margins. Do not shrink the page to hide a scale problem.
Your template, ready to print
Original design. Match your printer’s paper size and keep the scale at 100 %.
Solid line: cut. Dashed line: fold. Calibration square: 20 × 20 mm. Personal and classroom use; do not resell the file.
Where this idea comes from
This project revisits a Dulzura de Papel topic with instructions and original graphics developed for this version. Planificador Semanal Imprimible gratis para descargar · 12 March 2018.