From paper to project
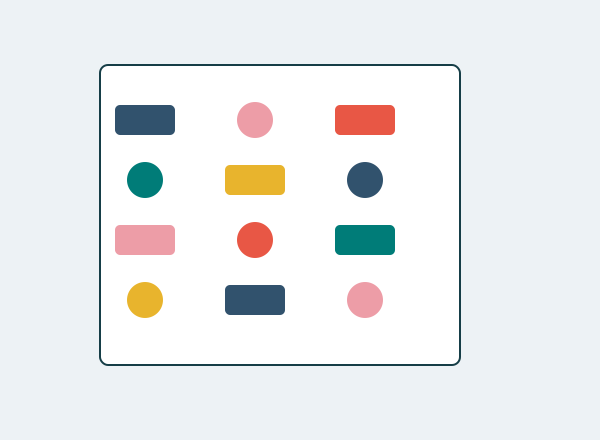
Choose three functions: appointment, task and reminder; give each a different shape.
Print at 100 % and measure a box in your planner.
Cut only the pieces you need this week.
Write a short word before sticking, while the paper is on a flat surface.
Keep the time and date visible; decoration should not cover information.
At the end of the week check which symbols were useful and simplify the next sheet.
Check it with an example
Example: circle for an appointment, rectangle for a task and triangle for a reminder. Colour can reinforce the code, but shape preserves meaning in a monochrome print.
If it does not turn out as expected
If a sticker covers two days, trim it or use it in the notes area. A compact planner needs smaller shapes rather than unreadably small text.
Your template, ready to print
Original design. Match your printer’s paper size and keep the scale at 100 %.
Solid line: cut. Dashed line: fold. Calibration square: 20 × 20 mm. Personal and classroom use; do not resell the file.
Where this idea comes from
This project revisits a Dulzura de Papel topic with instructions and original graphics developed for this version. Free Printable Planner Stickers Serie 1 · 6 May 2017.