From paper to project
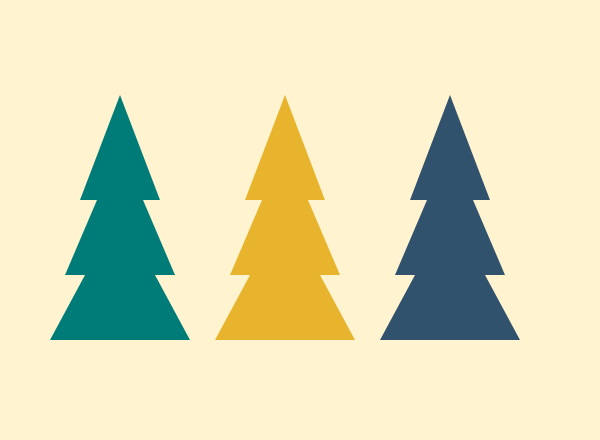
Cut two identical tree silhouettes.
Mark the halfway point of their height.
Cut the first from the top down to the midpoint.
Cut the second from the bottom up to the midpoint.
Slide the slots together and spread the pieces at 90 degrees.
Set it down and check that all four base points touch the table.
Check it with an example
For a 14 cm silhouette, each central cut is 7 cm long. The slot should grip without bending the card: start narrow and widen only if needed.
If it does not turn out as expected
If it leans, level the base and check the cut depths. Keep it away from candles, heaters and electrical decorations.
Your template, ready to print
Original design. Match your printer’s paper size and keep the scale at 100 %.
Solid line: cut. Dashed line: fold. Calibration square: 20 × 20 mm. Personal and classroom use; do not resell the file.
Where this idea comes from
This project revisits a Dulzura de Papel topic with instructions and original graphics developed for this version. Arbol de navidad de papel.