From paper to project
Write the message and count its letters; spaces separate groups and do not need printed flags.
Choose a high-contrast colour and print one test page first.
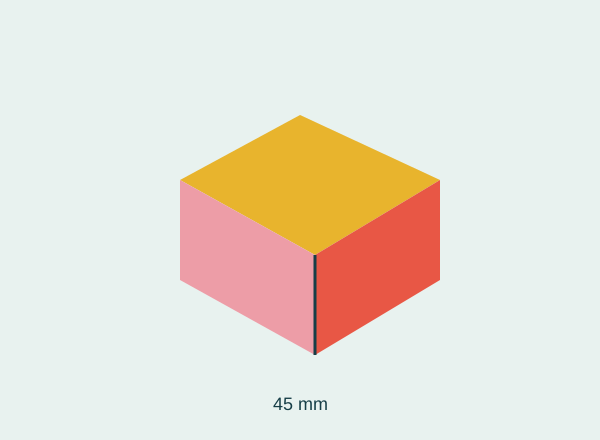
Print at 100 %, with scaling disabled. Measure the 20 mm calibration square.
Cut along the outside line and punch the two upper marks at the same height.
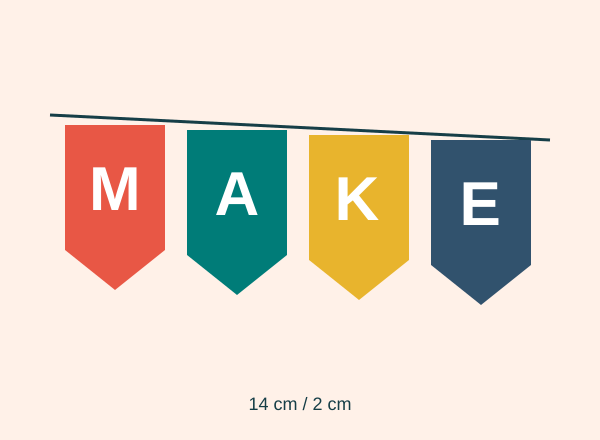
Thread the string behind each flag, leaving a 2 cm gap between letters.
Hang away from lamps, flames and small children; allow a gentle curve rather than pulling the paper tight.
Check it with an example
Example: HAPPY DAY has eight letters. Eight 14 cm flags, seven 2 cm gaps and 20 cm at each end need about 1.66 m of string. Measure your hanging space before cutting.
If it does not turn out as expected
If the points curl, use less wet glue and slightly heavier paper within your printer’s limit. Punch before laminating, which makes cutting harder.
Your template, ready to print
Original design. Match your printer’s paper size and keep the scale at 100 %.
Solid line: cut. Dashed line: fold. Calibration square: 20 × 20 mm. Personal and classroom use; do not resell the file.
Where this idea comes from
This project revisits a Dulzura de Papel topic with instructions and original graphics developed for this version. Banderines con Letras Imprimibles Free.