From paper to project
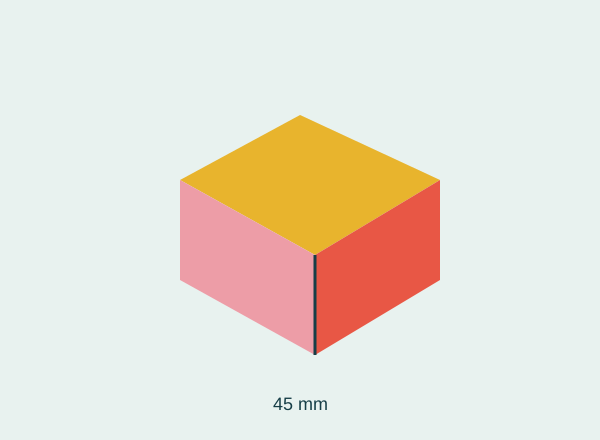
Print at 100 % and measure a square: each side should be 45 mm.
Cut the outer perimeter, keeping the tabs.
Score the folds with a blunt tool on a protected surface.
Pre-fold every line before adding glue.
Glue the side tabs on the inside and leave the upper lid unglued.
Test the empty box’s closure, then add only a lightweight object.
Check it with an example
A 45 mm cube has a geometric volume of about 91 cm³, but tabs reduce the usable space. A rigid 45 mm object will not fit comfortably: allow clearance.
If it does not turn out as expected
If it does not close, check the scaling and folds rather than trimming the lid at random. Use suitable packaging for heavier objects instead of endlessly reinforcing this model.
Your template, ready to print
Original design. Match your printer’s paper size and keep the scale at 100 %.
Solid line: cut. Dashed line: fold. Calibration square: 20 × 20 mm. Personal and classroom use; do not resell the file.
Where this idea comes from
This project revisits a Dulzura de Papel topic with instructions and original graphics developed for this version. cajita.