From paper to project
Choose a box without hard edges, residue or dampness.
Cover its four sides with paper while leaving the opening clear.
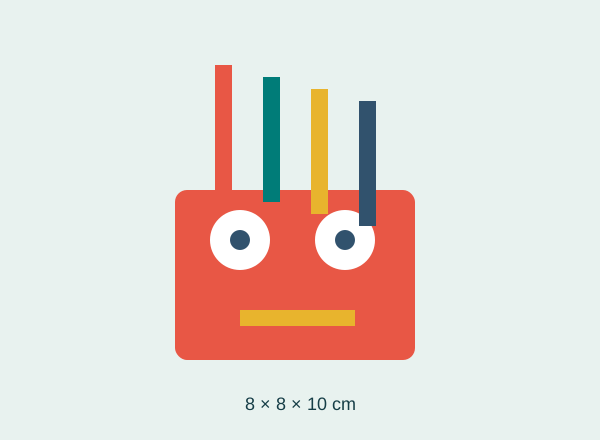
Cut large paper eyes and draw pupils.
Glue on a flat mouth without plastic teeth or loose ornaments.
Add two card arms folded at their bases.
Insert a few pencils and check stability on a table.
Check it with an example
An 8 cm-wide, 10 cm-high box keeps most pencil tops visible. Choose a shorter box if the tools disappear inside.
If it does not turn out as expected
Reduce the load or add a wider card base if it tips. Do not mount it above a bed or assume tape can hold any weight.
Where this idea comes from
This project revisits a Dulzura de Papel topic with instructions and original graphics developed for this version. DIY lapiceros “Monstruos” para niños · 23 March 2014.