From paper to project
Check for splinters and a firmly attached spring.
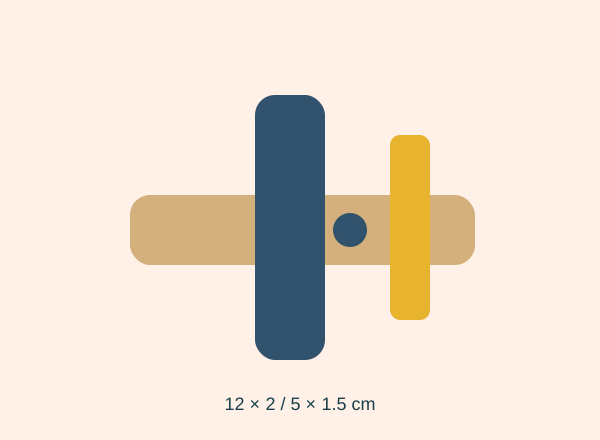
Cut a 12 × 2 cm wing and a 5 × 1.5 cm tail.
Round the card corners.
Decorate before gluing so the joint stays clean.
Centre the wing near the front and the tail at the back.
Dry horizontally and use it as a display piece.
Check it with an example
A 12 cm wing extends 6 cm either side of the centre line. Measure both halves to avoid a crooked model.
If it does not turn out as expected
Keep fingers away from the spring and do not add pin-mounted propellers. Check adhesive compatibility and drying time if the tail detaches.
Where this idea comes from
This project revisits a Dulzura de Papel topic with instructions and original graphics developed for this version. Manualidades con broches para los peques · 25 April 2014.