From paper to project
Prepare names or a short message and check spelling.
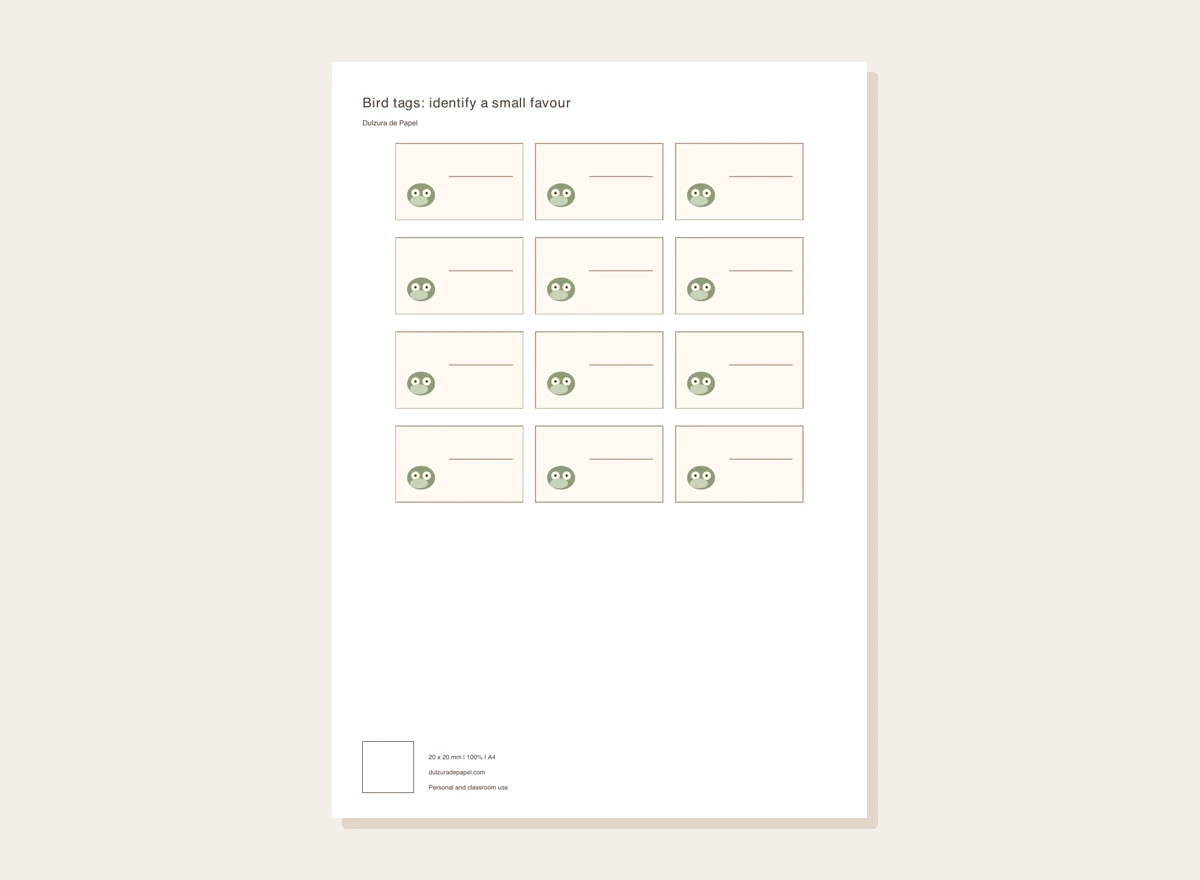
Print at 100 % and measure the 20 mm square. Each sheet has twelve 50 × 30 mm tags.
Complete one tag and place it beside the gift to check the proportion.
Cut with the bird inside the outline; do not detach wings or the beak.
Attach only to the outside packaging. For food, leave original ingredients, allergens and dates visible.
Count the finished gifts and keep two blank tags for late changes.
Check it with an example
For 22 favours, two sheets provide 24 tags and two spares. “Thank you, Ana” is clearer than four tiny lines. The actual bag surface determines where to attach it.
If it does not turn out as expected
Do not place printed paper directly against food or assume craft glue is food-contact safe. If there is no suitable clean surface, use an external tie or another presentation.
Your template, ready to print
Original design. Match your printer’s paper size and keep the scale at 100 %.
Cut the outlines of the pieces; leave artwork and writing lines inside. Calibration square: 20 × 20 mm. Personal and classroom use; do not resell the file.
Where this idea comes from
This project revisits a Dulzura de Papel topic with instructions and original graphics developed for this version. Pajarito rosa nena Kit de etiquetas para golosinas.