From paper to project
Measure the finished card rather than the file on your screen.
Print at 100 % and cut a test envelope from plain paper.
Fold the side flaps inward.
Fold the bottom flap up and glue only its edges over the side flaps.
Slide the card in without forcing it and leave the upper flap open.
Write the recipient’s name on the front before adding embellishments.
Check it with an example
A 90 × 130 mm card needs a slightly larger pocket. The template provides clearance; layered flowers need a deeper envelope or an unsealed presentation.
If it does not turn out as expected
Glue that reaches the inner pocket can seal it shut. Apply a narrow line only where the flaps overlap.
Your template, ready to print
Original design. Match your printer’s paper size and keep the scale at 100 %.
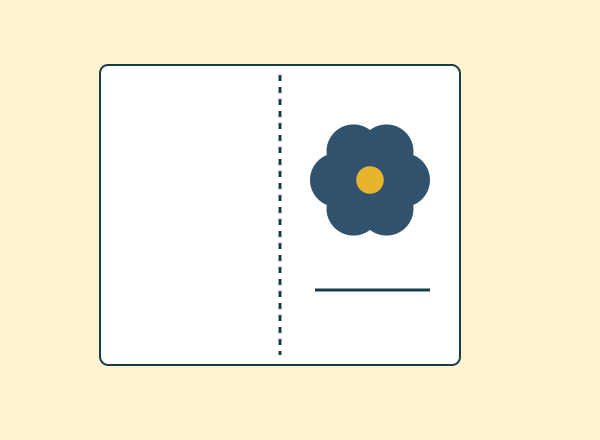
Solid line: cut. Dashed line: fold. Calibration square: 20 × 20 mm. Personal and classroom use; do not resell the file.
Where this idea comes from
This project revisits a Dulzura de Papel topic with instructions and original graphics developed for this version. Imprimible gratis “sobres”.