From paper to project
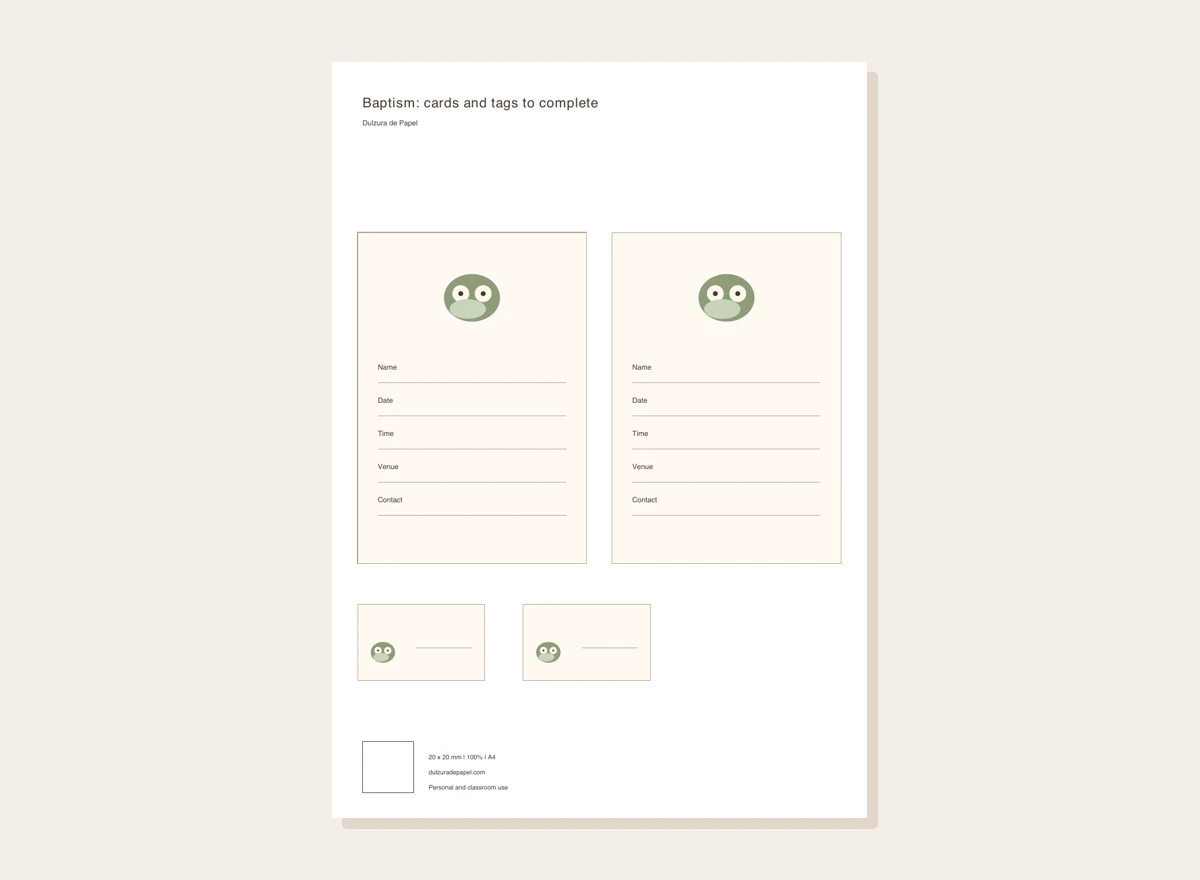
Match A4 or Letter to your printer. The new sheet has two 90 × 130 mm cards and two 50 × 30 mm tags; complete them by hand, as the PDF has no editable form fields.
Print one sheet at 100 % and measure the 20 mm square. Fill every detail on a test card before producing copies.
Confirm the ceremony before filling the card. Note the venue name, address and time; check any instructions from the community organising it.
If there is a later gathering, give it a separate line with its own venue and time. Do not leave guests to assume both parts happen in one building.
Cut along the outline with suitable scissors and keep text 5 mm from the edge. Test the actual fit if using envelopes.
Before distributing, ask someone to read the venue, date and time without an explanation. Correct the test before printing the remaining copies.
Check it with an example
“Ceremony: [church and address], 11:00. Family gathering: [venue], 12:30. Please reply to [contact].” Check travel between the locations before finalising the timings.
If it does not turn out as expected
If the venue, date or contact is missing, pause printing and confirm it. A lovely card cannot fix ambiguous information. Do not expose private addresses or phone numbers in photographs shared publicly.
Your template, ready to print
Original design. Match your printer’s paper size and keep the scale at 100 %.
Cut the outlines of the pieces; leave artwork and writing lines inside. Calibration square: 20 × 20 mm. Personal and classroom use; do not resell the file.
Where this idea comes from
This project revisits a Dulzura de Papel topic with instructions and original graphics developed for this version. Pajarito celeste nene Invitacion para imprimir.